Wednesday, December 21, 2011

More Christmas Cards

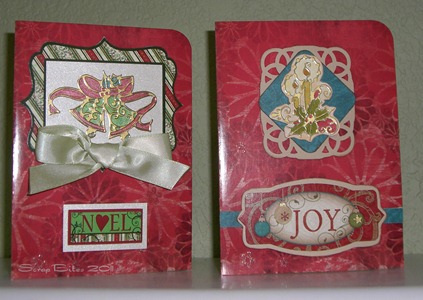
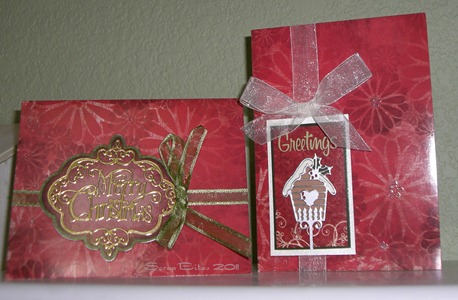
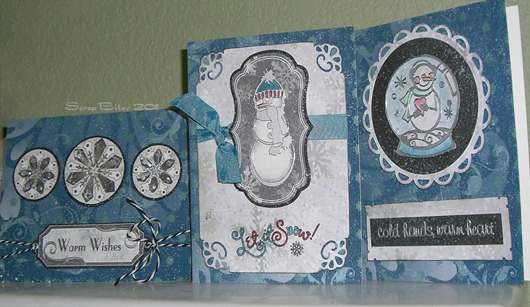
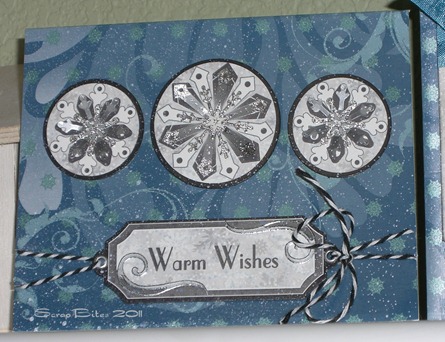
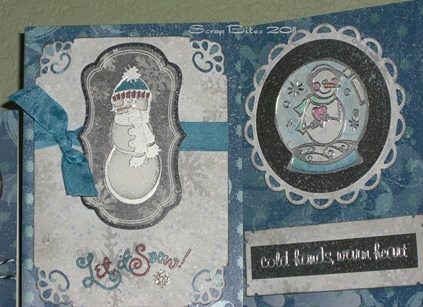
Just wanted to share some more Christmas Cards I made this year.  This were made with a hodge podge of supplies I had on hand.  Dazzles from HOTP, cards from the Michael’s $1 bin, ribbon, my own white shimmer mist (mixed perfect pearls with water, alcohol, and a little white acrylic paint), etc.  I hope you like them!
CIMG2585CIMG2587CIMG2572CIMG2579CIMG2578
These HOTP dazzles are so cute!  After I made these cards, I didn’t want to give them away.  LOL!
Merry Christmas!
Cat

Monday, December 19, 2011

Christmas Projects at The Little Blue House

The Little Blue House is our local paper crafting studio.  They have beautiful projects you can create every season and I wanted to share some of the neat things I made at the House this season.
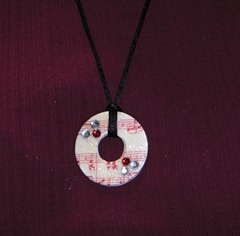
CIMG3029A glittered and blinged up washer necklace.  I’m going to make more of these.  They were lots of fun, Simple and make a great gift.
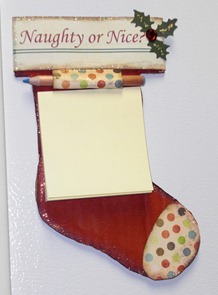


CIMG3031
A cute magnetic post it note holder.  Adorable right?
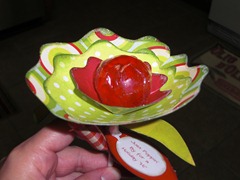
CIMG3023


A lovely lollipop flower.


And many more little gifts. 
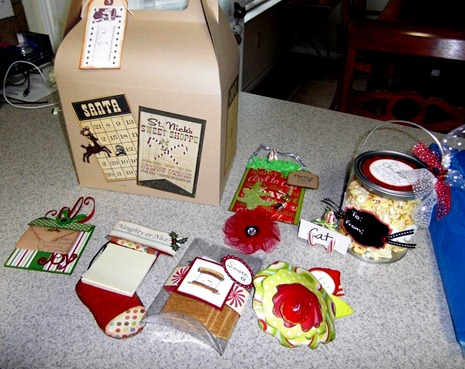
CIMG3011

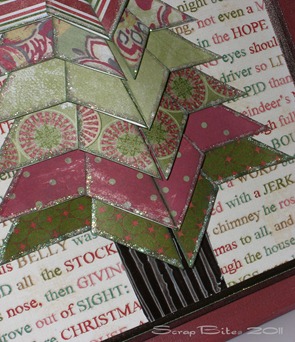
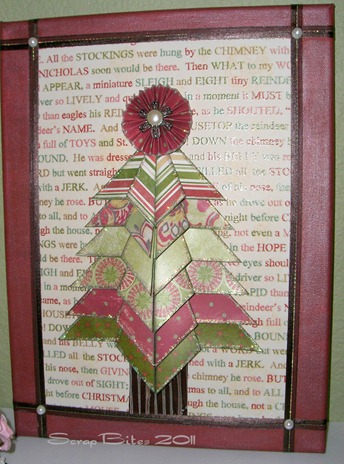
We also made a gorgeous Origami Christmas Tree Canvas. All with our own supply stash!
CIMG2553 
Here’s a couple of close ups
CIMG2565
CIMG2561
These projects were great fun to make. So support your local scrap store and sign up for one of their classes today!
Have a great holiday! 
Cat
Linky Parties


Friday, December 16, 2011

Merry Tags for Blocks

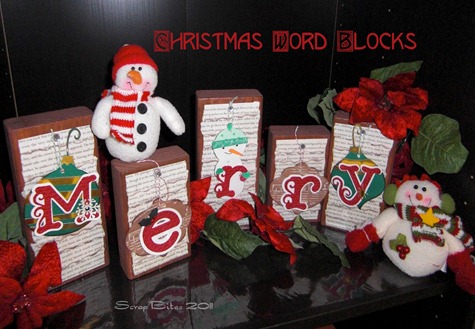
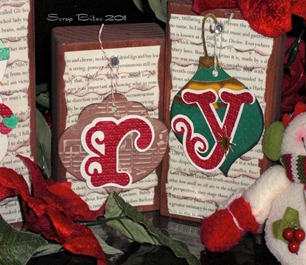
As promised, here’s a look at my Christmas blocks. 
CIMG3032
I made these with the Cricut Alphabet font (love this font!) and Winter Frolic for the snowman and ornament shapes. These were so easy to make I was done in a few of hours. See my original altered blocks post for more information and a video tutorial on making the blocks.
I cut the letters in Real Dial Size to better control the size proportion to the ornament.  I also cut the shadows so that the letters would stand out.  CIMG3034Then I gave them some texture with an embossing folder. 
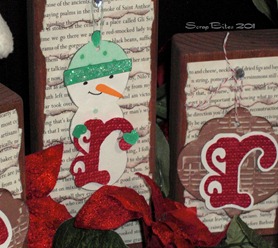
Here’s a look at a couple of close ups.
CIMG3035


I kept it simple this time and only added glitter to the snowman.  
So simple and so cute.  These are the times I love my Cricut and love not having to hunt down images online.
Hopefully, my seasonal blocks inspired you this year.  I’m thinking of making a set for the new year and then cycling through the ones I already made this year come spring.
I have a couple more projects to share this season so stay tuned!
PhotobucketPhotobucketPhotobucket


  Cat

Wednesday, December 14, 2011

Last Minute Christmas Cards

Hello! I’m back and I have some quick and easy Christmas card ideas you can make by this weekend! Yes you can do this!
One uses the Cricut, the second uses stamping and the third one uses stickers.
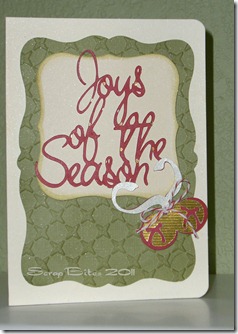
The first simple card idea involves the Cricut.
CIMG2580
In order to make these cards fast it’s best to use premade blank cards. You can get them at Michaels with your 40% off coupon. 
First, find some holiday word art from any cartridge. Here I’m using Joys of the Season from the Wrap It Up cartridge.  Use fancy paper like foiled or glittered paper so it looks special.
Then find a background diecut and cut it so it fits your card.  (I used the Spring Holiday Cards cart for this background). Emboss it with an embossing folder.  Ink your embossed diecut and adhere it to your card.  You can pop dot it if you wish to create a 3D effect. 
Then add another background diecut for your word art and cut it to size.  I used  Spellbinders Nestabilities Labels One die for this one.
Add your word art and tie a little twine if you wish to add a cute embellishment. 
Now, you can leave it like this or mist it with some clear shimmer spray to give the entire card a little sparkle. And voila, you are done! 
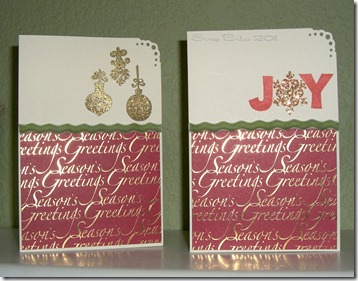
The second card was created with one stamp and fancy foiled paper.
CIMG2588
Cut your fancy patterned paper to fit card.  Trim with matching ric rac ribbon.  Stamp your image and you can either emboss or glitter it for a little shine.  Use a corner punch and that’s it!  Another quick and easy card.  Stamps are from $1 Micheals bin – ornaments and Close to My Heart –Joy. I’ve had these for a few years so I don’t know if they are still available.  The paper is from Hobby Lobby – I got these on clearance last year.  May still be around this year.
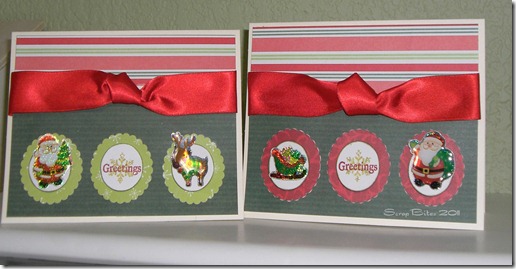
The final card is super simple also and uses stickers.
CIMG2583
These cute stickers I picked up at Michael’s for 79 cents!   They are epoxy holographic stickers. How cute is this!  All I did here was cut a couple of pieces of paper and adhered them together and then wrapped the ribbon around it.  I created the knot on the ribbon before I adhered it to the card.
Then I used my 1 1/2 inch scalloped punch and my 1 inch round punch.  Layered the punches together and attached the stickers.  For the greeting I used two stamps.  A snowflake stamp with a light colored ink and then stamped the greeting over that.  No embossing or anything fancy.  These cards are done!
I hope these samples help you get those cards completed.  Remember to keep the cards simple and without too many 3D embellishments so they go through the mail intact.
Stay tuned as I’ll be posting my holiday tags in the next few days. Super simple and super cute also.
Cat